

You want an ice bath at home, but not a garden renovation, an expensive chiller or a daily trip to buy bags of ice. The dip may be short, but filling, cooling and cleaning determine whether you keep using it. Before buying one, you also want to know what cold water actually offers after exercise.
This guide covers what research shows, how to start gradually and what to look for in a portable tub. From temperature and session length to changing the water and winter storage, here is how to choose a setup that fits your space, budget and routine.
Quick answer: An ice bath at home is a tub of cold water you enter in a controlled way. A portable model needs no permanent installation or power connection. You manage temperature with tap water and optional ice. Research mainly supports reduced soreness after strenuous exercise; results depend on the protocol and your goal.
What does an ice bath do to your body?
During an ice bath at home, your skin cools quickly and your nervous system responds to the cold. Your breathing may speed up and blood vessels near the surface narrow as your body tries to retain heat. Enter slowly and control your breathing rather than chasing a time record.
Hormones also respond to cold water. In a laboratory study, Srámek and colleagues measured increased noradrenaline and dopamine concentrations during immersion at 14°C. The protocol lasted an hour: that is a research method, not advice for your own tub or evidence that two minutes produces the same response. Read the physiological study on PubMed.
Temperature, immersion depth and time work together. Five minutes in water at 20°C is a different exposure from five minutes at 5°C. Use a thermometer for your ice bath at home to compare sessions accurately.
You do not need to see floating ice cubes. A cold plunge means immersing yourself in cold water; ice is simply one way to lower its temperature.
Which benefits matter for your recovery?
Less soreness after a hard session
Delayed-onset muscle soreness, often called DOMS, can be particularly noticeable the day after strenuous exercise. A Cochrane review by Bleakley and colleagues combined 17 small trials involving 366 participants. Cold-water immersion reduced reported soreness at several measurement points between 24 and 96 hours compared with rest or no intervention. Read the Cochrane review.
The studies were small and varied in quality and approach. Treat an ice bath as a possible addition to your recovery routine, alongside enough food, sleep and an appropriate training load.
A later meta-analysis by Moore and colleagues, published in 2022, also found favourable outcomes for soreness, perceived recovery and recovery of muscular power 24 hours after high-intensity exercise. The analysis included 52 studies. This is particularly relevant between closely scheduled, demanding sessions. Read the recovery meta-analysis.
How does cold water compare with other recovery methods?
In a 2023 review, Moore and colleagues compared cold-water immersion with other recovery methods across 28 studies. On average, the comparison favoured cold water for recovery from muscle soreness. Not every performance measure improves or every athlete responds equally. See the comparison of recovery methods.
Is muscle growth your main training goal? Avoid making an ice bath immediately after every strength session your default: regular cooling straight after training may reduce training adaptations. Schedule your dip at another time; less soreness and greater muscle growth are different goals. Read the research context in Cain and colleagues’ review.
Feeling more alert for a while
Yankouskaya and colleagues studied 33 healthy adults who spent five minutes in water at 20°C with their heads above water. Afterwards, participants reported feeling more alert and active, and less nervous. This was a small before-and-after study without a randomised control group, so it points to a short-term experience rather than guaranteeing lasting energy. Read the study on mood and alertness.
A possible later effect on stress
A 2025 review by Cain and colleagues found a reduction in measured stress twelve hours after immersion. The full review included 11 studies with 3,177 participants, but that total does not apply to every individual outcome. The effect depended on timing and does not support a promise that every dip makes you immediately or permanently stress-free. Read the health and wellbeing review.
For more background, read our guide to cold therapy and the science behind it.
How do you start taking an ice bath at home?
What temperature should you choose?
Start with cool tap water and measure it before getting in. Beginners do not need to aim straight for 5°C: water around 15 to 20°C can already feel distinctly cold. This is a cautious introduction, not a proven ideal recovery temperature for everyone.
Sports studies also use lower temperatures and longer sessions. Do not automatically copy those protocols for your first ice bath at home. Your cold experience, health and response matter.
How long should you stay in?
Keep your first session short, for example 30 seconds, and get out sooner if you feel unwell. Do not try to go colder and stay longer at the same time. A timer tracks your session; it never obliges you to finish.
Take your first ice bath at home with someone present, enter gradually and keep your head above water. Do not hyperventilate or hold your breath; stop if you experience dizziness, chest pain, breathlessness or lose control of your breathing. Speak to a doctor first if you have a cardiovascular condition, are pregnant or are unsure about your health, and make sure you can get out easily and warm up.
How often should you take an ice bath?
There is no universal weekly dose established for every goal. You could start with one or two brief sessions a week, leaving time between them to assess your response. This is a practical starting point, not a proven optimum.
Record the temperature, duration and how you feel afterwards. If you mainly use an ice bath at home for recovery, pay attention to your next training session too. Only progress when your current routine feels comfortable and manageable.
How do you keep the water cold without a chiller?
What does insulation actually do?
An insulated ice bath at home slows heat exchange with its surroundings. It does not cool warm water by itself or maintain the same temperature in every condition. Without a chiller, tap water temperature, sunlight and outdoor temperature still matter.
Position the tub in the shade and use the thermal cover between sessions. Measure again just before use, even if the water was cold enough yesterday. On warmer days you may need extra ice; on cooler days you may not.
How much ice do you need?
That depends on the amount of water, its starting temperature and how much you want to cool it. Without those details, a fixed number of bags is unhelpful. Measure first, gradually add ice or frozen packs, mix the water and measure again before getting in.
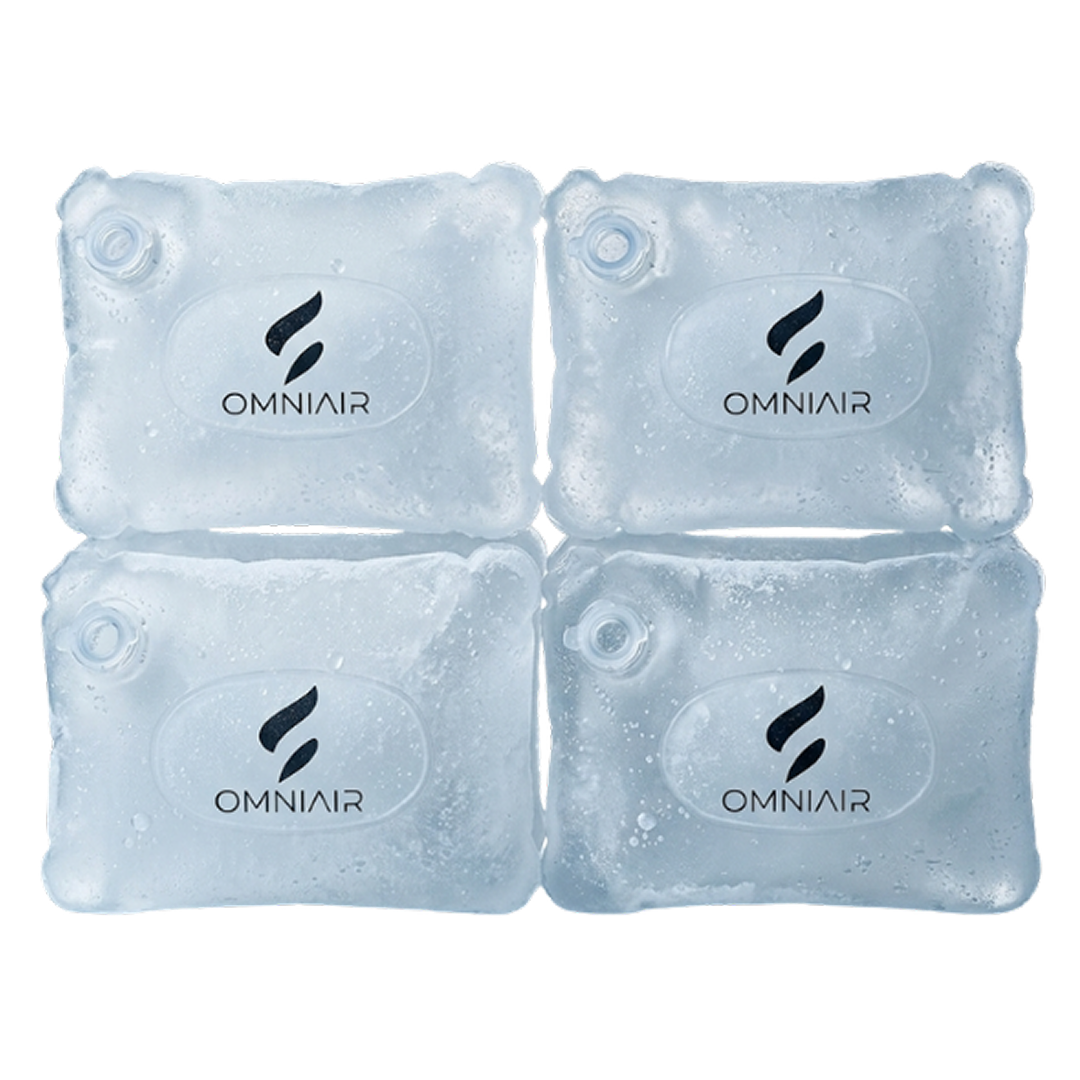
Reusable ice packs can reduce the need to buy bags of ice. You still need freezer space and time to freeze them again, and four packs do not guarantee a specific final temperature. Even an ice bath at home without a power connection can therefore use electricity indirectly when you make ice.
Want to keep your water at one set temperature every day in summer? Active cooling is better suited to that requirement. Always check whether a tub supports it; a drain is not automatically a chiller connection.
Where should you put the tub, and how do you maintain it?
Space, load capacity and getting in
Choose a flat, firm surface without sharp objects. Leave space around the tub for getting in, drying off and draining it. For an ice bath at home, drainage matters as much as floor space.
A balcony is only suitable once its load capacity has been checked. One litre of water weighs approximately one kilogram, before adding your weight and the tub itself. If unsure, have the total load and drainage assessed before filling it.
Check the internal space and entry height before buying. Your build and preferred position determine whether a compact round tub is spacious enough. Ask for the current internal measurements if they are not clearly listed.
Preventing leaks and an unstable rim
Assemble the frame according to the instructions and check the drain connection before filling the tub completely. Part-fill it first to check for leaks, and leave room for the water your body displaces. A portable wall or rim is not a seat or a step.
If a support sinks or a connection leaks, stop using the tub until the cause is resolved. Take photos and contact the seller. A material description cannot establish winter durability.
Changing the water, odours and cleaning
Rinse off before getting in and keep soil, leaves and sand out of the water. A cover helps keep outside debris out, but it does not filter or disinfect. For an ice bath at home without water treatment, fresh water for each session is the simplest approach to hygiene.
If you want to reuse the water, follow a suitable maintenance protocol from the manufacturer. Cloudiness, an unusual smell or a slippery film mean it is time to drain and clean; clear water alone does not prove it is hygienic. Do not guess chlorine doses or use cleaning products that could damage the material.
Draining, storage and winter weather
Direct the drain towards a place that can handle the water volume, and avoid making walkways wet or slippery. Only use a compatible hose if the connection is designed for one. Do not lift or drag a full tub to empty it.
Dry the tub completely before folding it away, so moisture is not trapped in the bag. If you pack it away daily, allow for filling and drying too: quick assembly does not mean the entire process takes only a few minutes.
Follow the manufacturer’s instructions in freezing weather. If frost resistance has not been confirmed, empty and dry the tub before it freezes, then store it somewhere sheltered. An outdoor cover does not guarantee protection against freezing or damage to the drain.
Which setup suits your budget and space?
Choosing an ice bath at home means weighing convenience against maintenance. Prices below are qualitative, except the specific OMNIAIR price. Water, ice, electricity and maintenance are additional costs where applicable.
| Setup | Purchase price | Setting up | Portability | Maintenance |
|---|---|---|---|---|
| Portable tub without a chiller | Low entry cost; OMNIAIR Round Basic €110 | Assemble the frame and fill; no power needed at the tub | Can be packed away when empty and dry | Manage cooling, cleaning and water changes yourself |
| Cold shower | No extra tub needed if you already have a shower | Ready to use | Fixed to the bathroom | Normal shower cleaning |
| Converted chest freezer | Depends on the freezer, conversion and safety measures | Technical modification and expert safety assessment required | Heavy and awkward to move | Responsibility for water quality and equipment upkeep |
| Permanent tub with a chiller | Usually the highest investment | Needs space, suitable electrical supply and connections | Limited | Maintain water treatment, filters and chiller |
A cold shower is the easiest introduction to cold, but offers a different exposure from immersion. A portable tub provides immersion without requiring a permanent spot. A chiller offers better temperature control and avoids repeatedly adding ice.
A household chest freezer is not designed for bathing. Do not treat conversion lightly or assume it is a safe budget option. A purpose-built ice bath at home is easier to assess.
What comes with the OMNIAIR Round Basic?
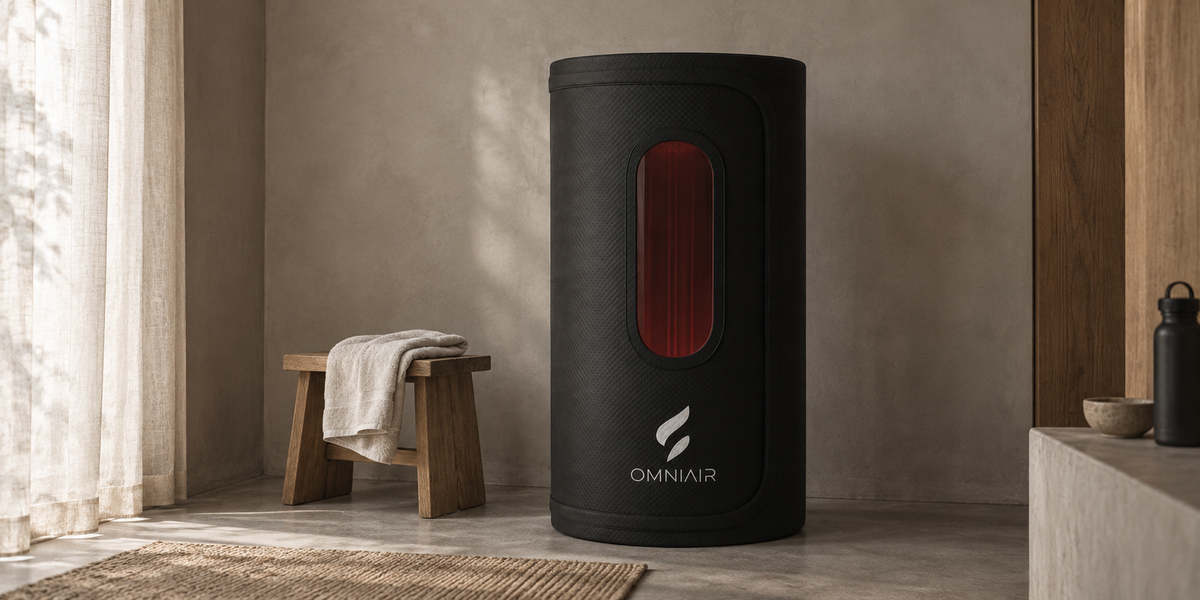
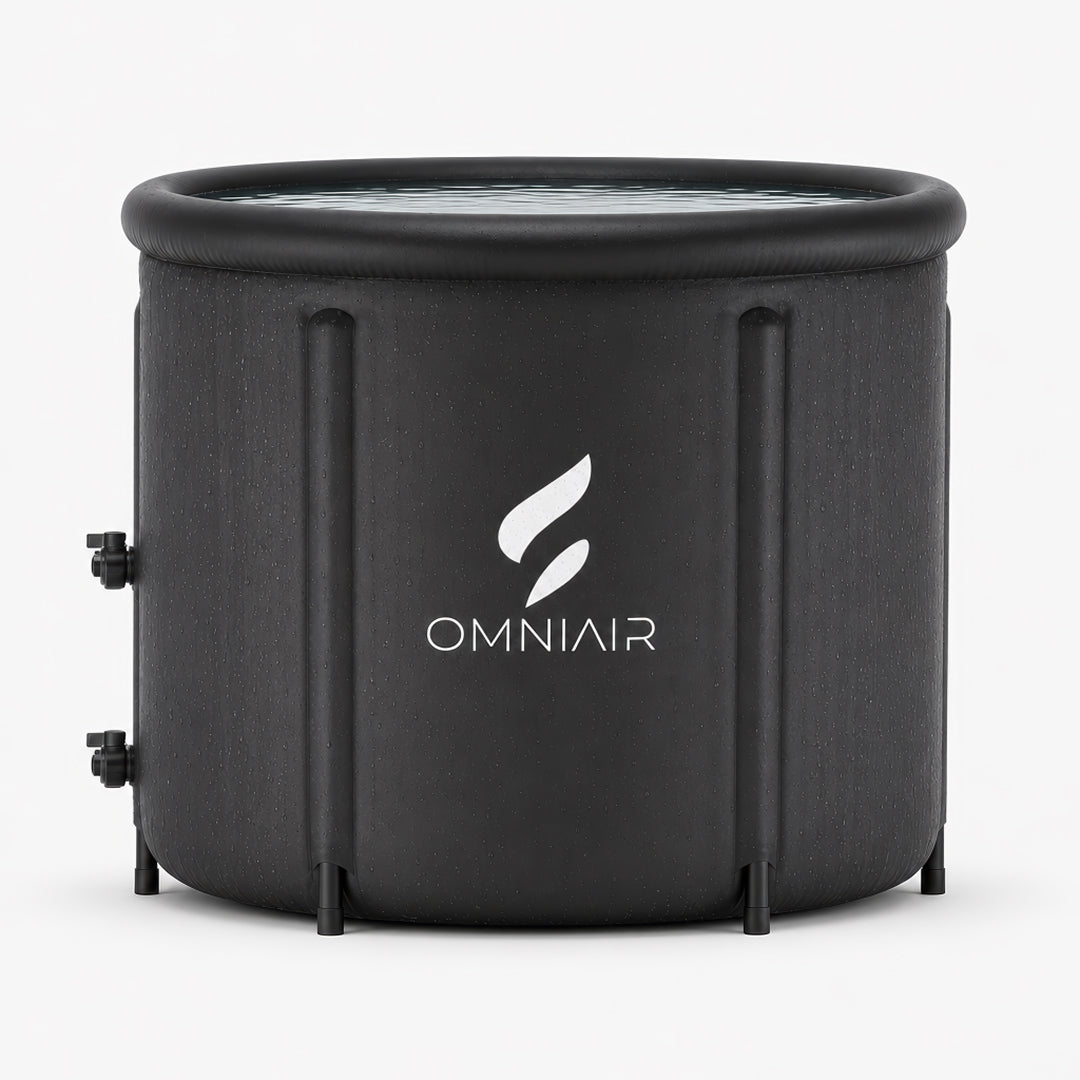
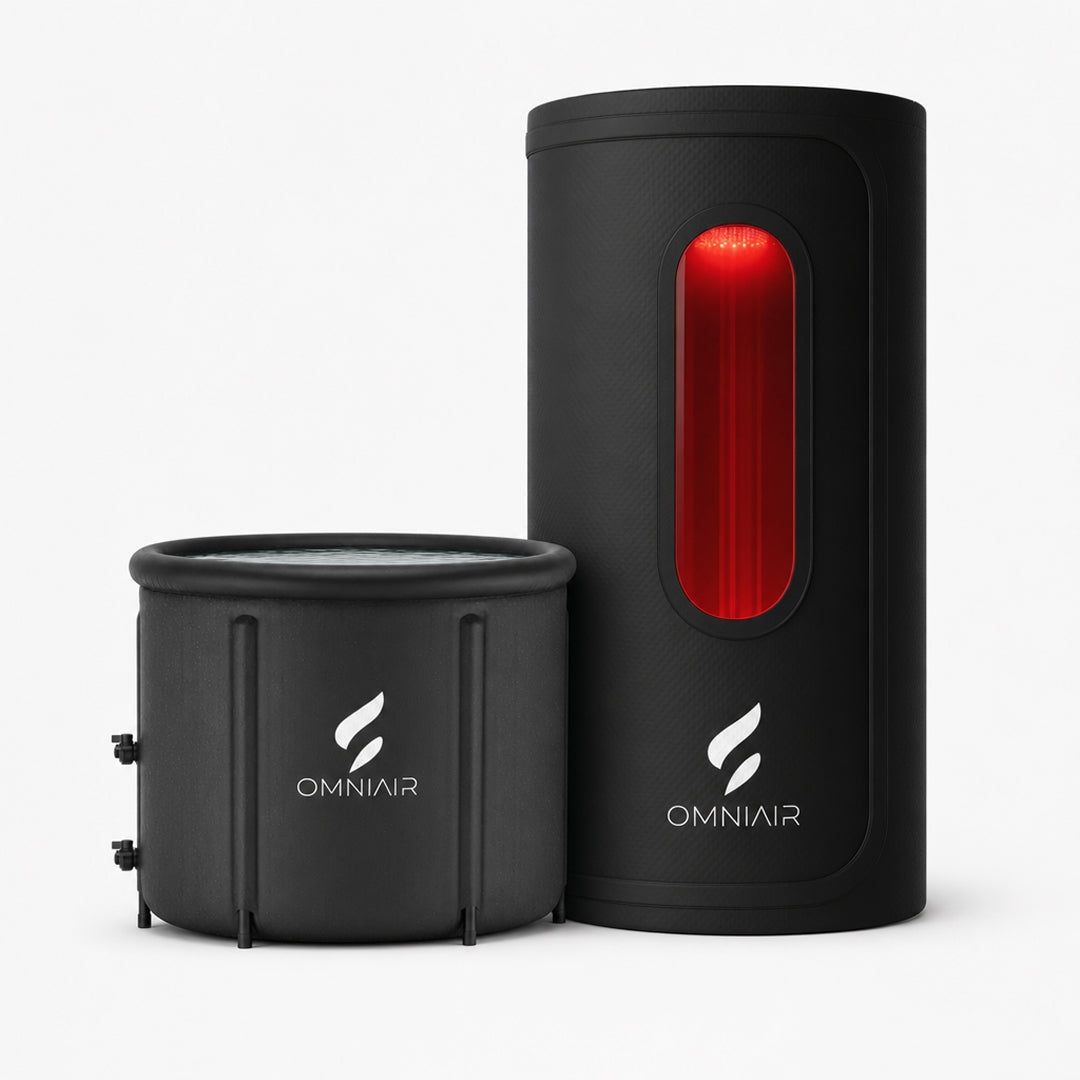
The OMNIAIR Cold Plunge Ice Bath Round Basic costs €110 and is designed for immersion at home without a permanent installation. The portable frame sets up in minutes; then you fill the tub. You do not need a power connection beside it.
The insulated tarpaulin-PVC walls help slow warming. The drain makes emptying practical, after which you can clean, dry and store the tub. Useful when you want an ice bath at home without permanent installation.
Included:
- Four reusable ice packs to freeze before use.
- A thermal cover to limit heat exchange.
- A protective outdoor cover to keep outside debris out.
- A storage and travel bag for the empty, dry tub.
- A water thermometer to check the temperature before every session.
This provides a starting setup for a manually cooled ice bath at home. The accessories save several separate purchases; cooling and looking after the water remain part of your routine. Browse the ice baths and cold therapy collection to compare the available options.
What else should you know about an ice bath at home?
Does an ice bath help with muscle soreness after exercise?
Research supports reduced perceived soreness after strenuous exercise compared with rest. The effect varies by person and protocol. Less soreness does not automatically mean more muscle growth or better performance.
How cold should an ice bath at home be?
Start with measured cool tap water, for example around 15 to 20°C, to ease into it. You do not need to add ice immediately. No single temperature is optimal for everyone and every goal.
How long should a beginner stay in an ice bath?
Start briefly, for example 30 seconds, and get out sooner if you feel unwell. Do not make sessions longer and colder at the same time. A timer is a tool, not a target you must reach.
Can I use an ice bath without ice?
Yes, if the water is already cool enough for your planned session. Check it with a thermometer first. Ice is a cooling method, not a requirement for cold-water immersion.
How often should I replace the water?
Without water treatment, fresh water for each session is the simplest approach to hygiene. For longer use, follow the manufacturer’s appropriate maintenance protocol. A cover does not replace cleaning or disinfection.
Can a portable ice bath stay outside in winter?
Only within the manufacturer’s stated conditions. If frost resistance has not been confirmed, empty and dry the tub before freezing weather and store it somewhere sheltered. A protective cover does not automatically make a tub frost-resistant.
Is a €110 ice bath enough to get started?
A portable tub can be enough if you are happy to fill, cool and clean it yourself. The Round Basic provides that starting setup with covers, a thermometer, a bag and four ice packs. Automatic temperature control requires a different setup.
Start without a permanent installation: explore the OMNIAIR ice bath for home at €110.

Bereit für bessere Regeneration?
Wissenschaftlich fundierte Lösungen für Athleten, die Regeneration ernst nehmen.
OMNIAIR entdecken